
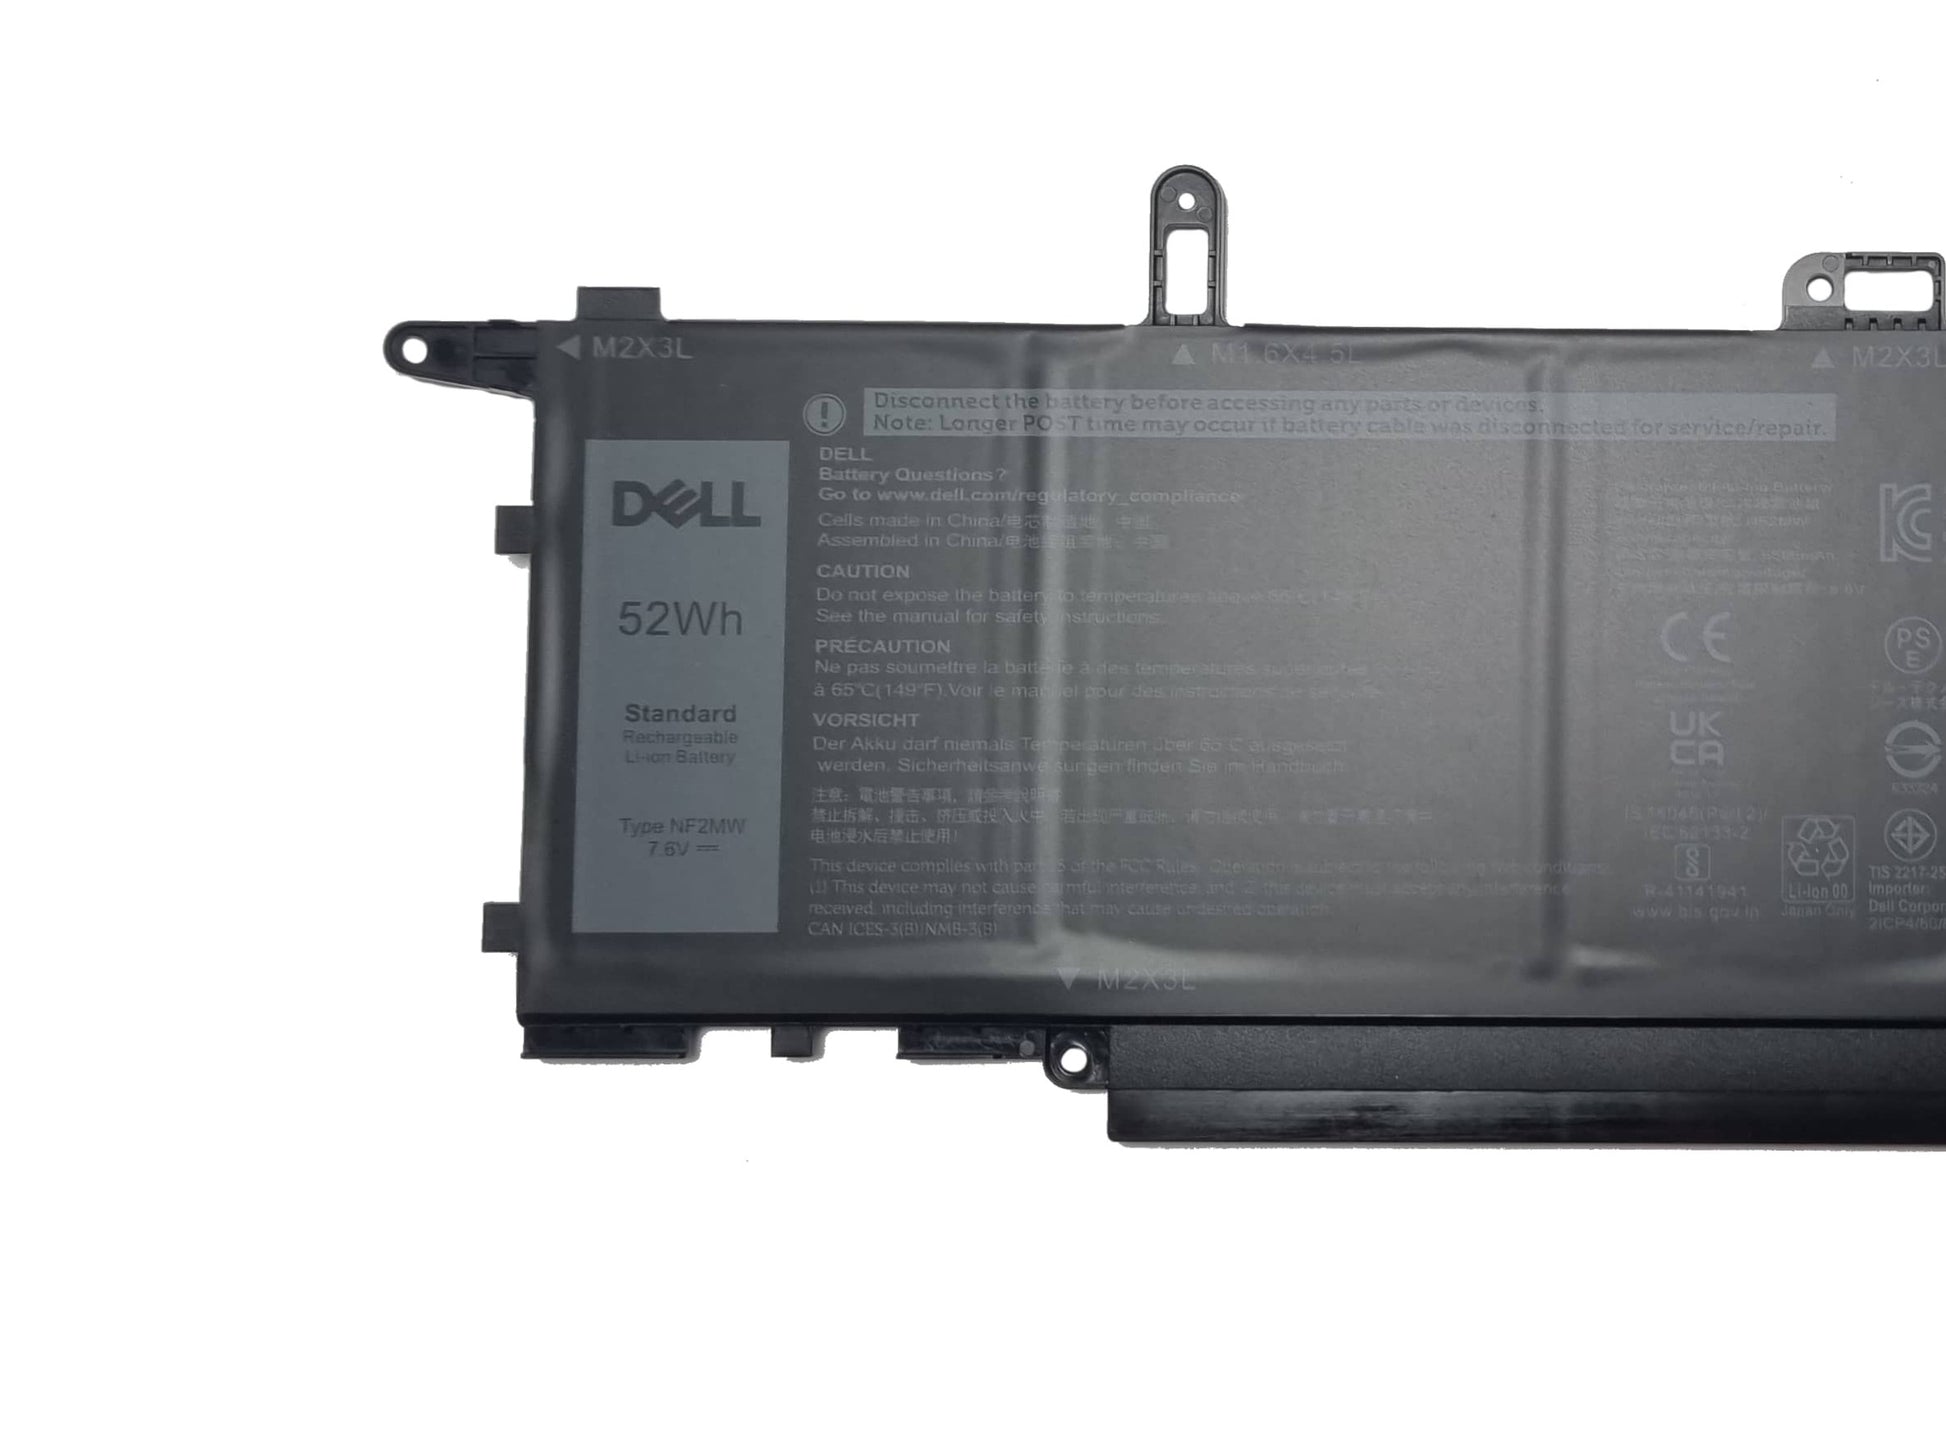
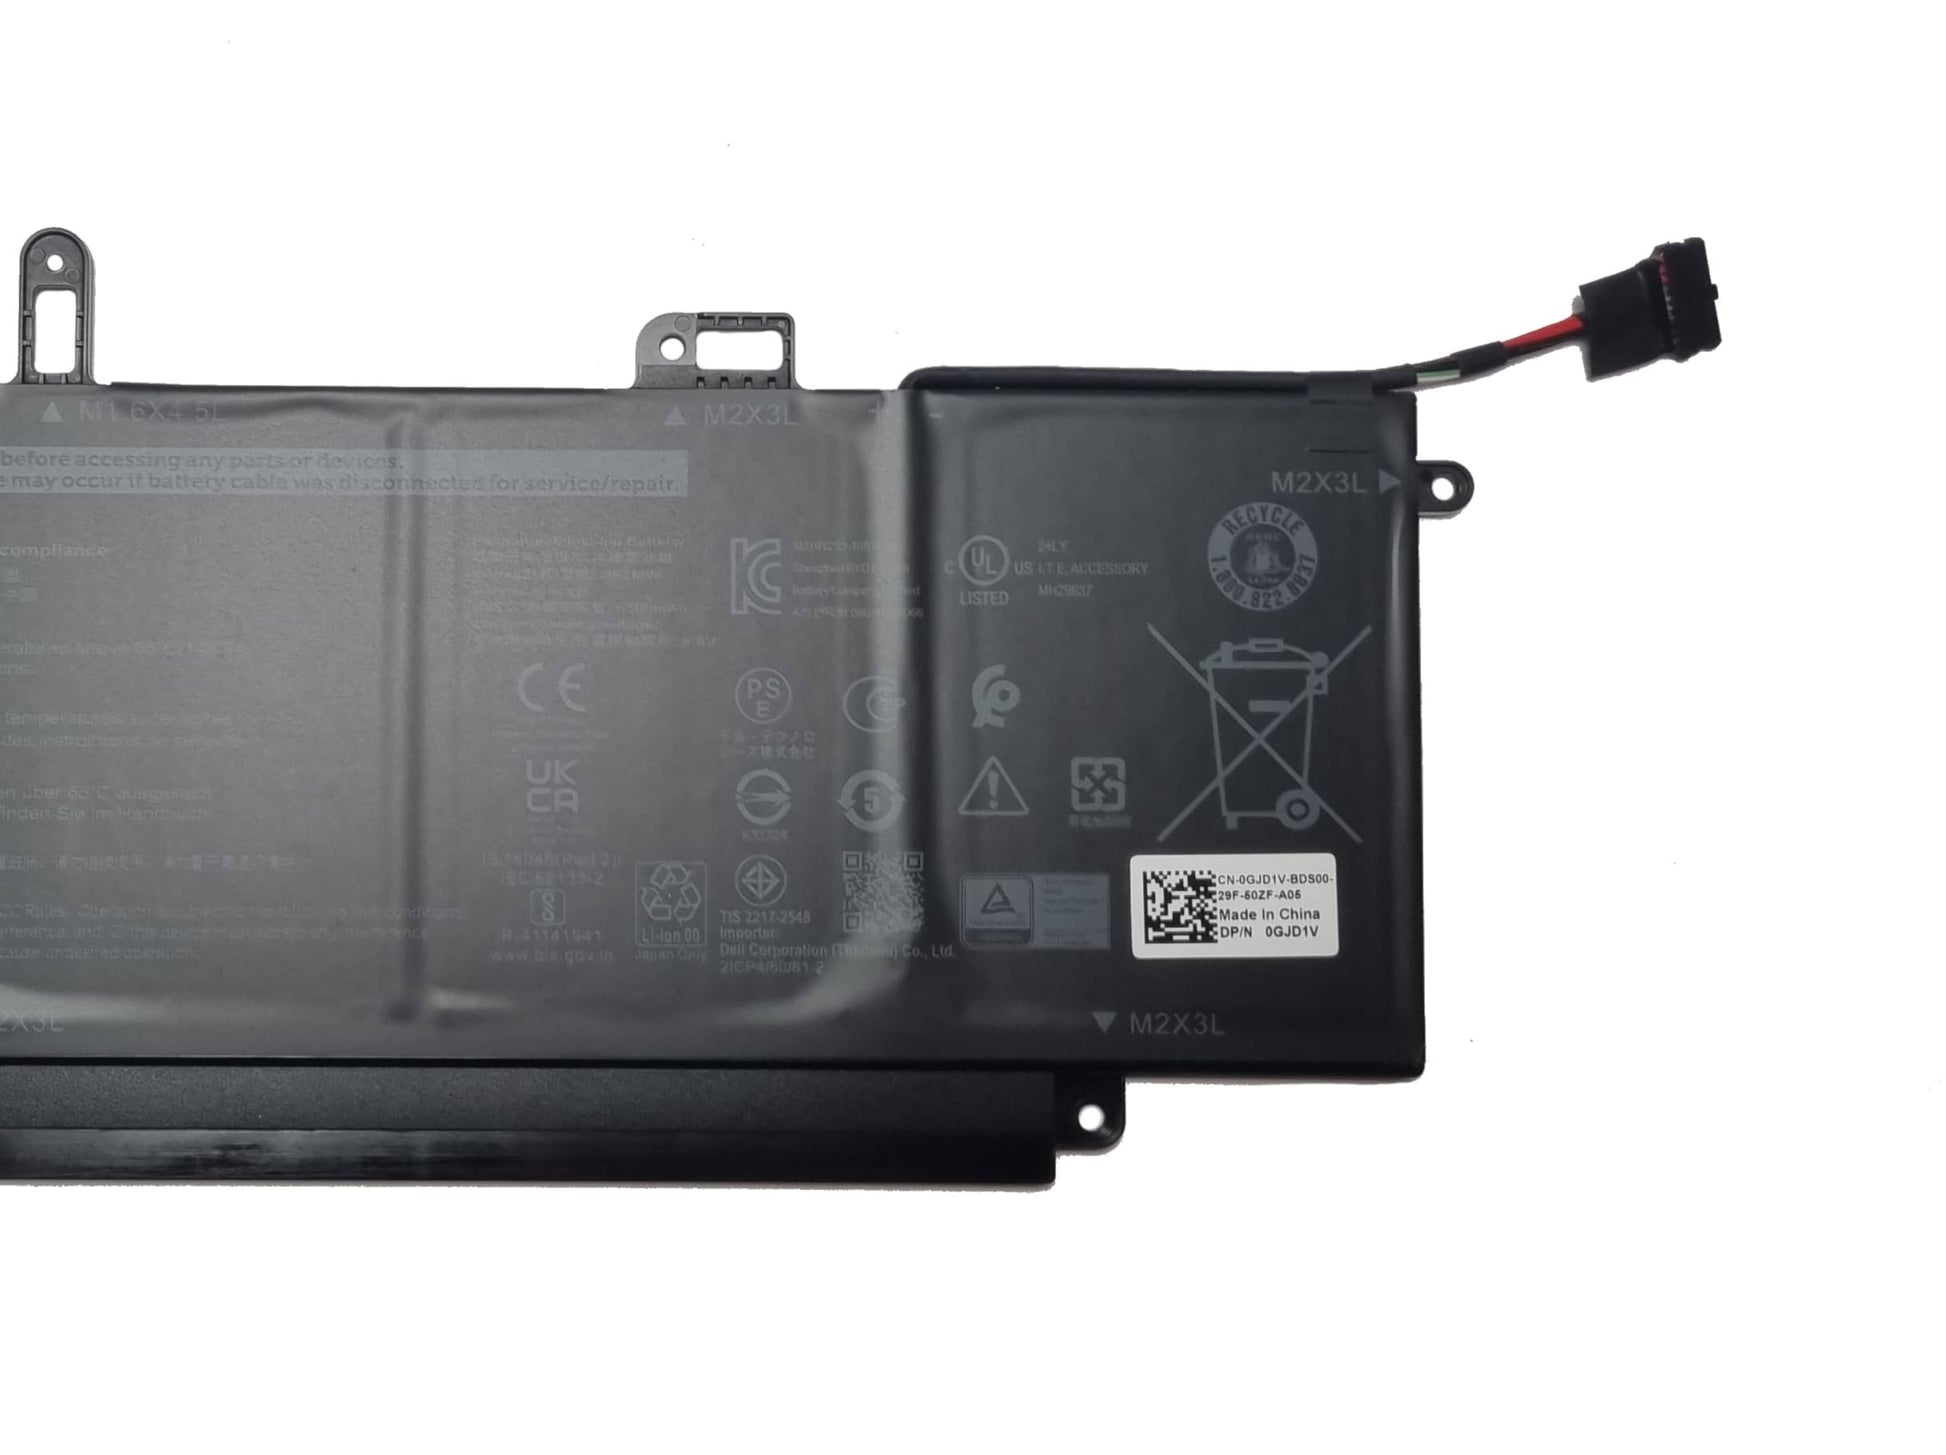

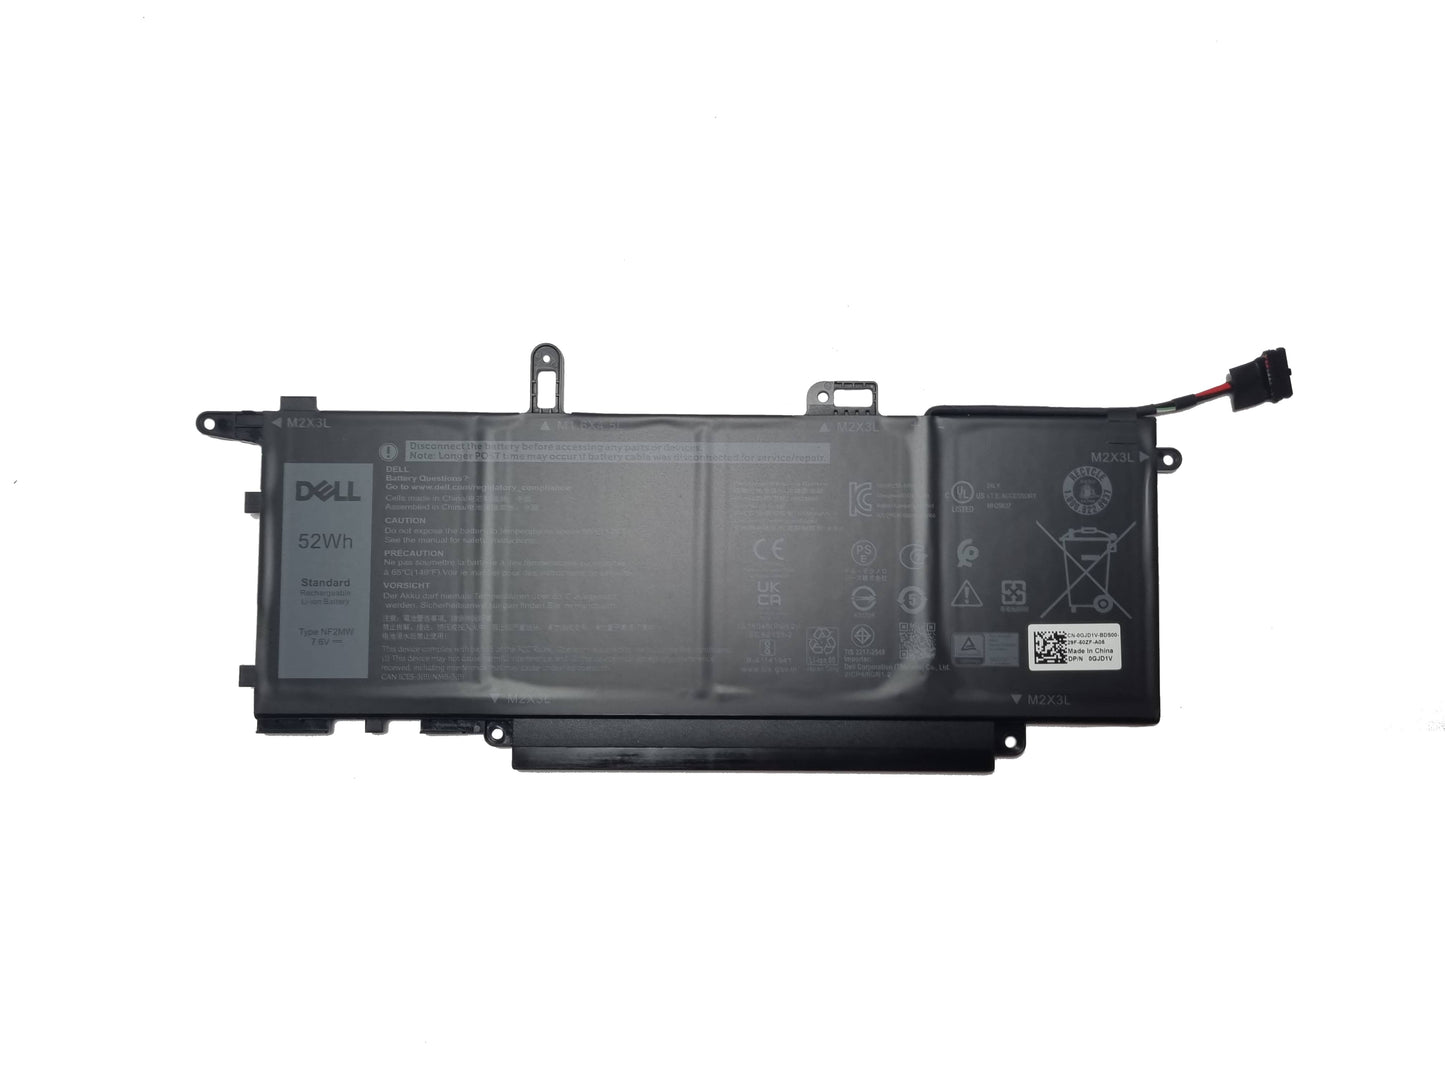
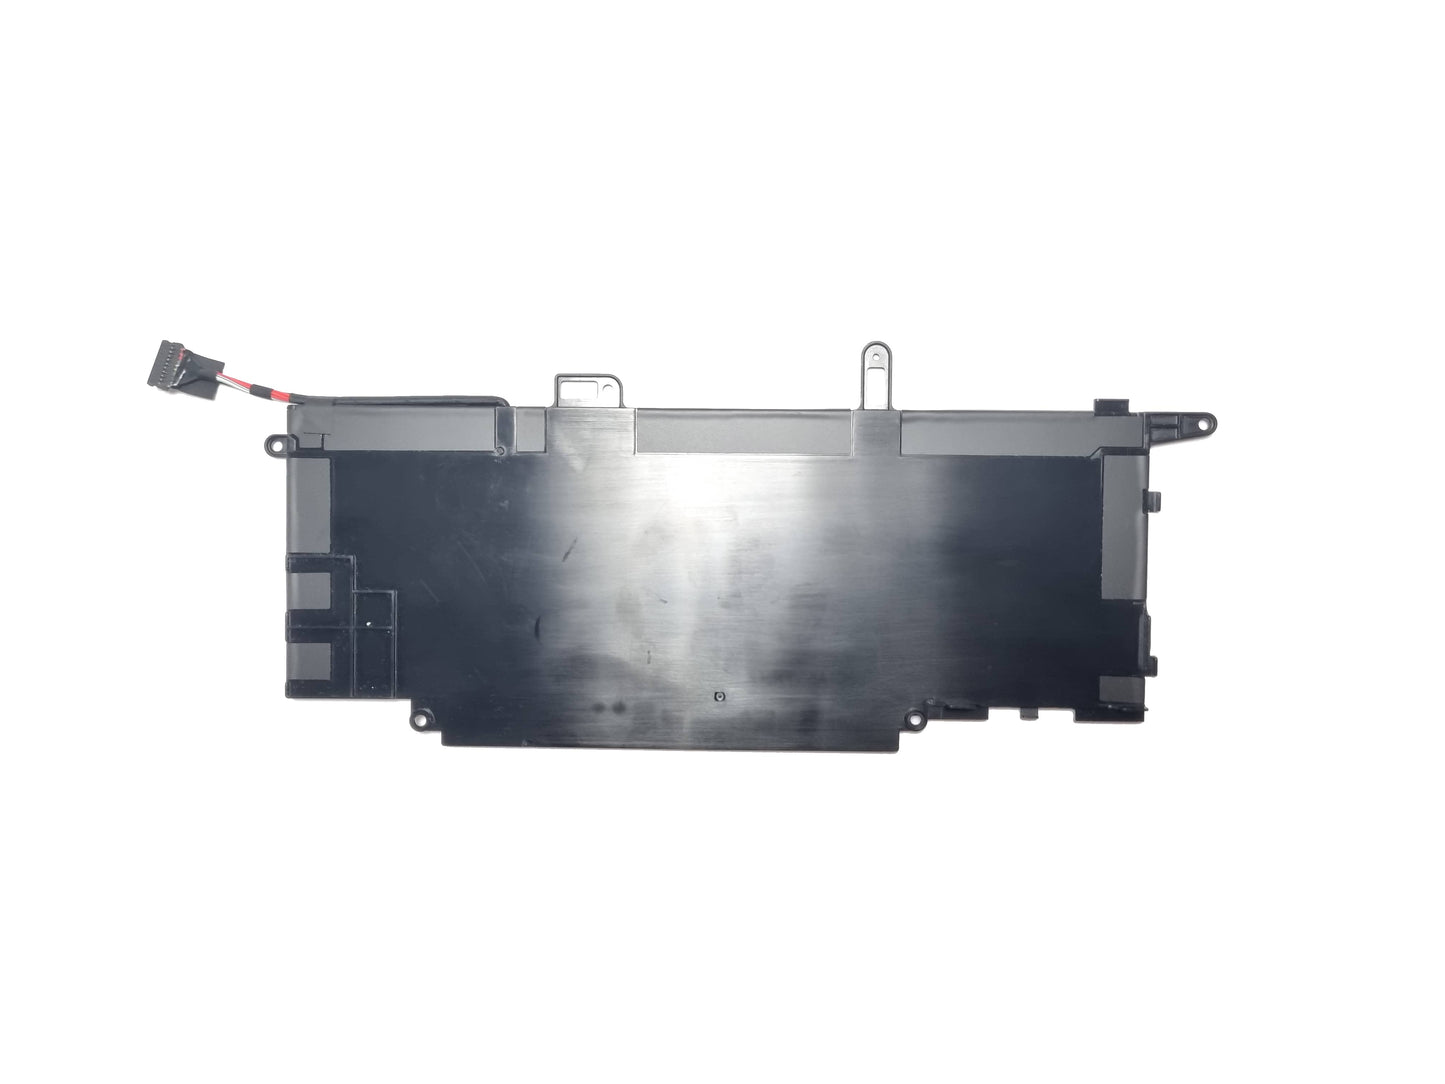
Dell Latitude 7400 2-in-1, 9410 2-in-1 52Wh 4 Cell Battery NF2MW GJD1V 11P1P CHWV6
Dell Latitude 7400 2-in-1, 9410 2-in-1 52Wh 4 Cell Battery NF2MW GJD1V 11P1P CHWV6
SKU:NF2MW
Out of stock
Couldn't load pickup availability
Genuine Dell replacement battery for Latitude 7400 and 9410 2-in-1 Versions only. This is a 52wh 4 Cell battery.
Condition: New
BRAND: Brand new Dell stock
TYPE: NF2MW
Dell Part Number DP/N: GJD1V, 0GJD1V, 11P1P, CHWV6
SUITABLE LAPTOPS: Dell Latitude 7400 2-in-1, 9410 2-in-1
VOLTAGE: 7.6V
CAPACITY: 52Wh
NUMBER OF CELLS: 4 Cell
Fits the following Dell Laptop models:
Dell Latitude 7400 2-in-1
Dell Latitude 9410 2-in-1
UK Seller - Free UK Next Day Shipping - 1 Year Warranty
How to install the battery
PLEASE NOTE: We are not liable for any hardware damages or injury caused during the installation. We also recommend using anti-static equipment to prevent hardware damage.
Removing the old battery
1. Power off the laptop.
2. Turn over the laptop and unscrew the base plate cover.
3. Remove the base plate from the laptop (Use a prying tool to help unclip in necessary)
4. Identify the battery connector and unplug the battery. (Slide the battery connecter away from the motherboard connector)
5. Unscrew the battery and remove the battery from the laptop.
Installing the New Battery
1. Align the new battery into position (Do not plug the battery in yet)
2. Install the battery screws
3. Plug the battery cable into the motherboard
4. Replace the base plate by applying light pressure to ensure it's seated correctly.
5. Install the base plate screws
6. Plug the power adapter into the laptop and switch on the laptop.


Our customer feedback
-
Kim M
I purchased a genuine Dell battery and needed it sooner rather than later (it took 2 weeks from Dell direct) so I opted to go to Black Cat. Easy purchase and very fast next day delivery - very impressed, thank you.
-
Steve L
Black Cat couldn't have been more helpful from the moment I placed my order. Great communication with order shipping updates by email. I purchased a new keyboard for my Dell Latitude laptop and it arrived promptly and fitted perfectly. I will use Black Cat again when I need spares. Highly recommended.
-
Adz
I don't usually bother leaving reviews but Black Cat PC were exceptional. Placed my order late at night on a Thursday with the free next day mon-fri delivery option. Dispatched first thing Friday morning and delivered on Saturday. Outstanding.
-
Paul G
I rang as was having difficulty finding the part I needed, it was easy to discuss my problem, the person took full responsibility and eventually the right part was located, which I then ordered online. this arrived on time and fitted perfectly. I would have no hesitation in recommending Black Cat for computer parts
About Us
We are a small independent company in West Sussex that takes pride in providing excellent customer service. We have been trading for 25+ years supplying original Dell laptop batteries, chargers, docks, keyboards, charging ports and many other Dell laptop spare parts. All our products are supplied with 12 months warranty and fast next-day UK shipping on most items. Orders placed before 4 pm will be shipped the same day via DPD, UPS, or Royal Mail. * UK Next day means next working day: - Monday – Friday (Excluding bank holidays) Some items do have extended delivery times due to availability.