

Dell
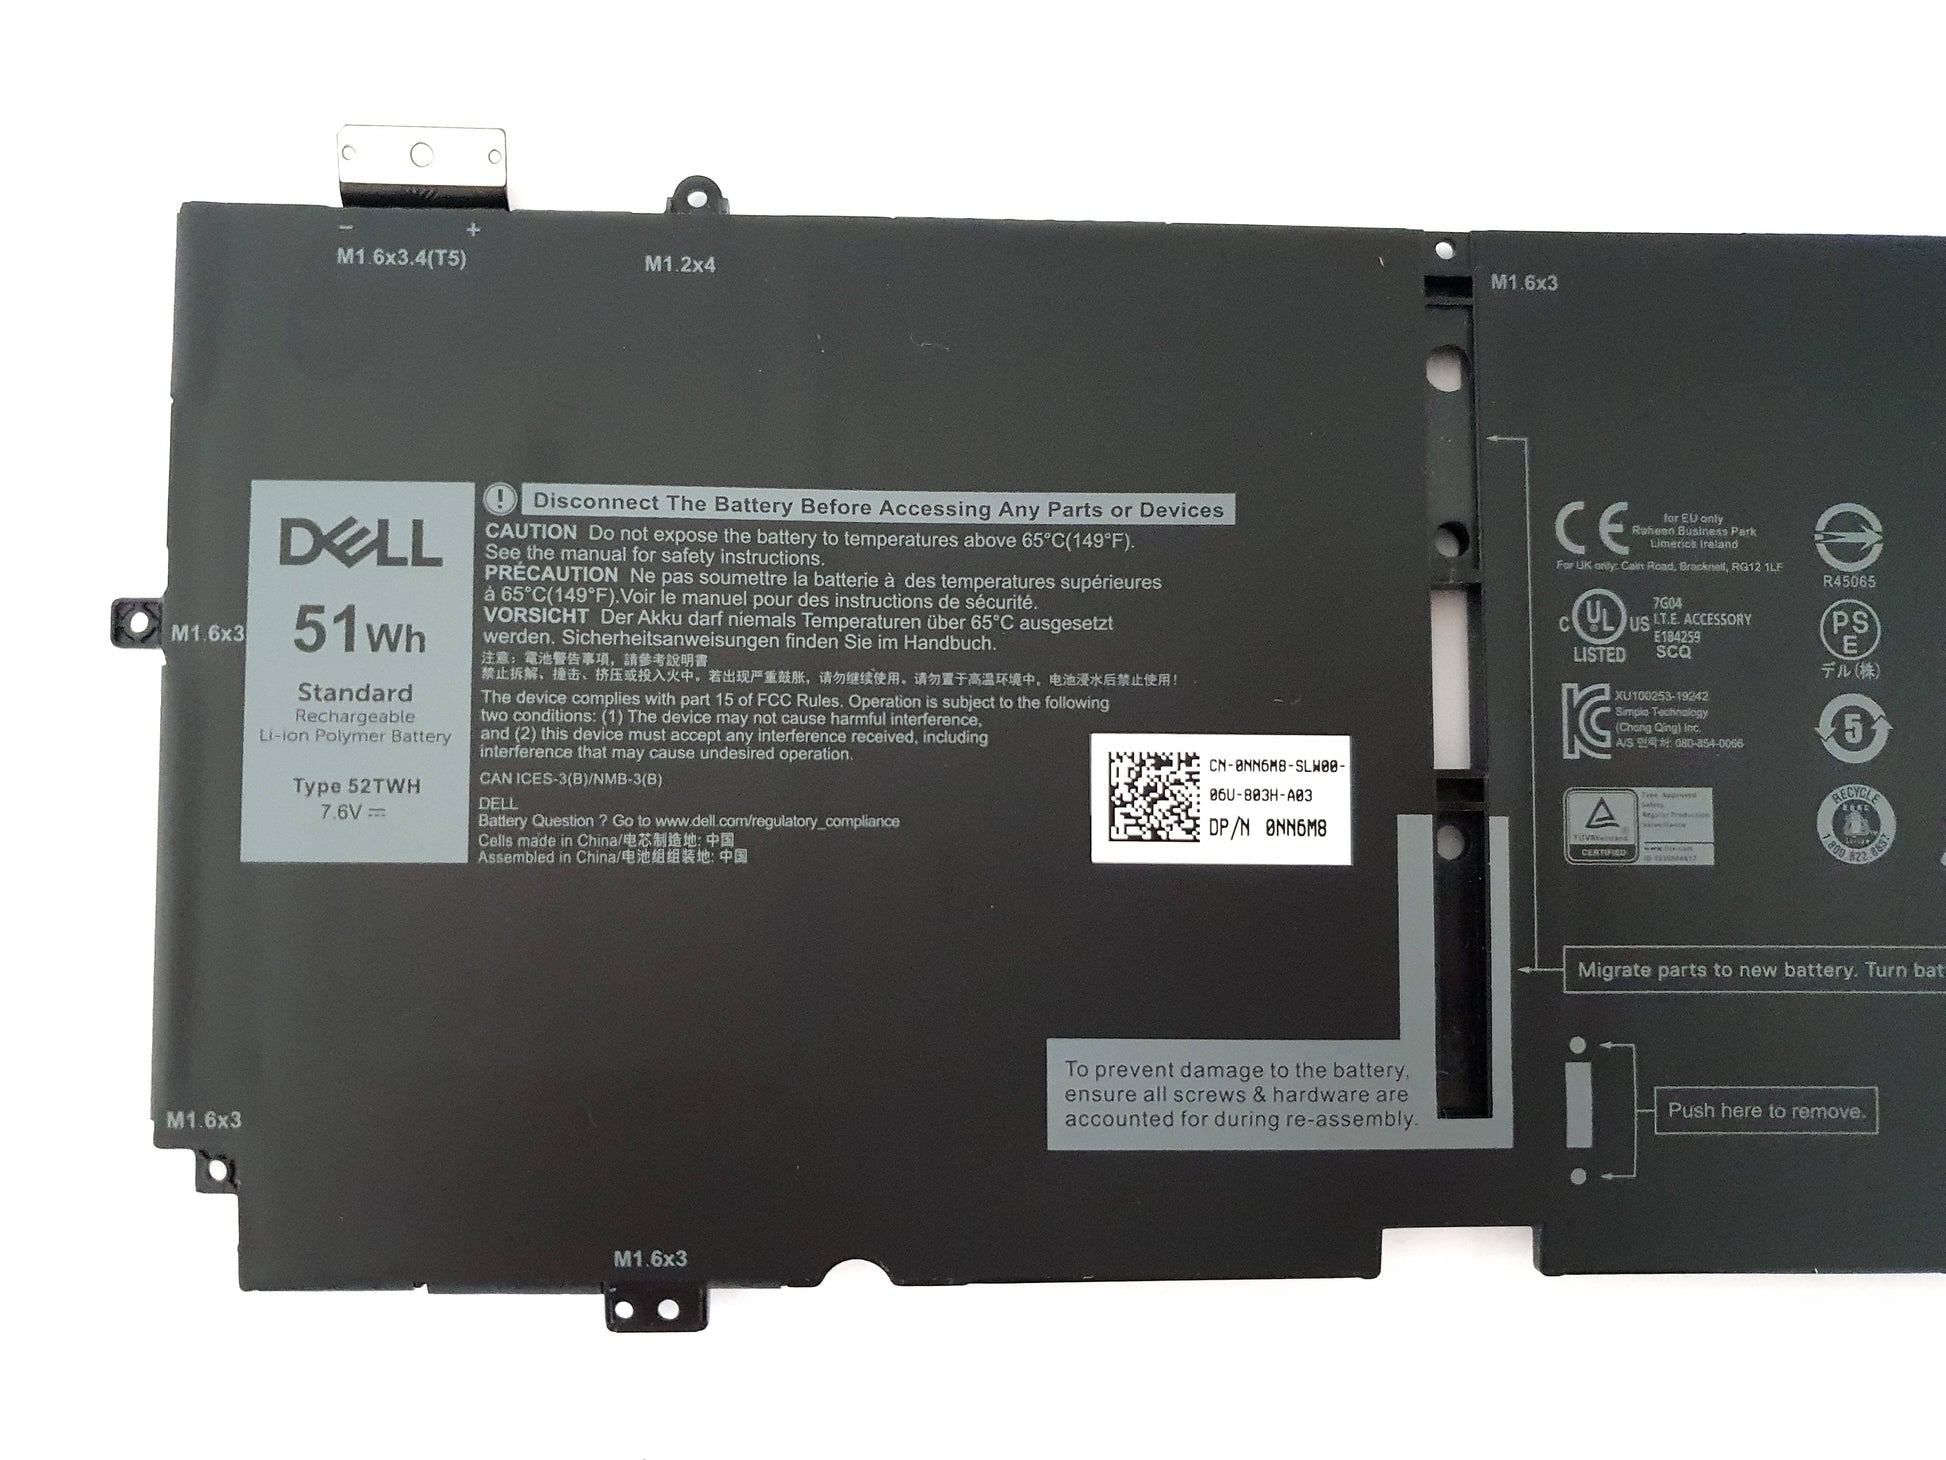
Dell XPS 13 7390 2-in-1 4 Cell 51Wh 7.6V Laptop Battery XX3T7 NN6M8 52TWH
Dell XPS 13 7390 2-in-1 4 Cell 51Wh 7.6V Laptop Battery XX3T7 NN6M8 52TWH
Low stock: 4 left
Couldn't load pickup availability
Shipping options and handling times
Shipping options and handling times
We offer fast next-day UK shipping. Orders placed before 4 pm will be shipped the same day via DPD, UPS, or Royal Mail. (Excluding bank holidays). Weekend delivery is available for an extra fee.
Please Note: We can now ship to Channel Islands; Northern Ireland and the Isle of Man.
We also offer plain label shipping.
For more information and pricing on express shipping services, Please click here.
Share
Genuine Dell 51Wh 7.6V replacement laptop battery for XPS 13 7390 4 cell
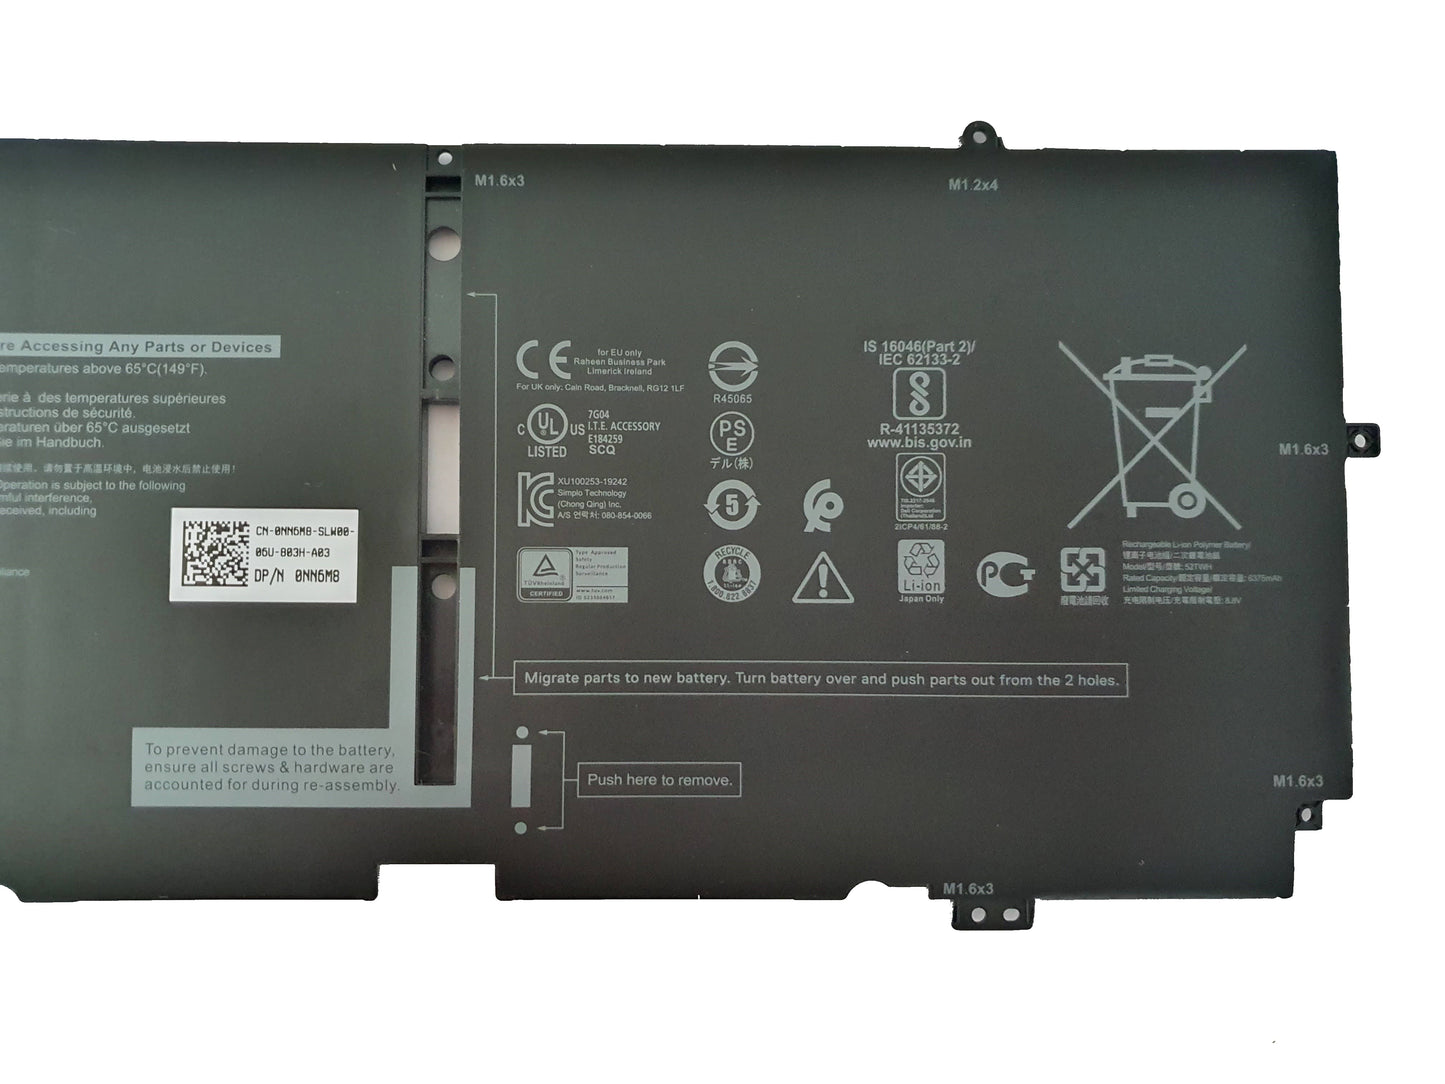
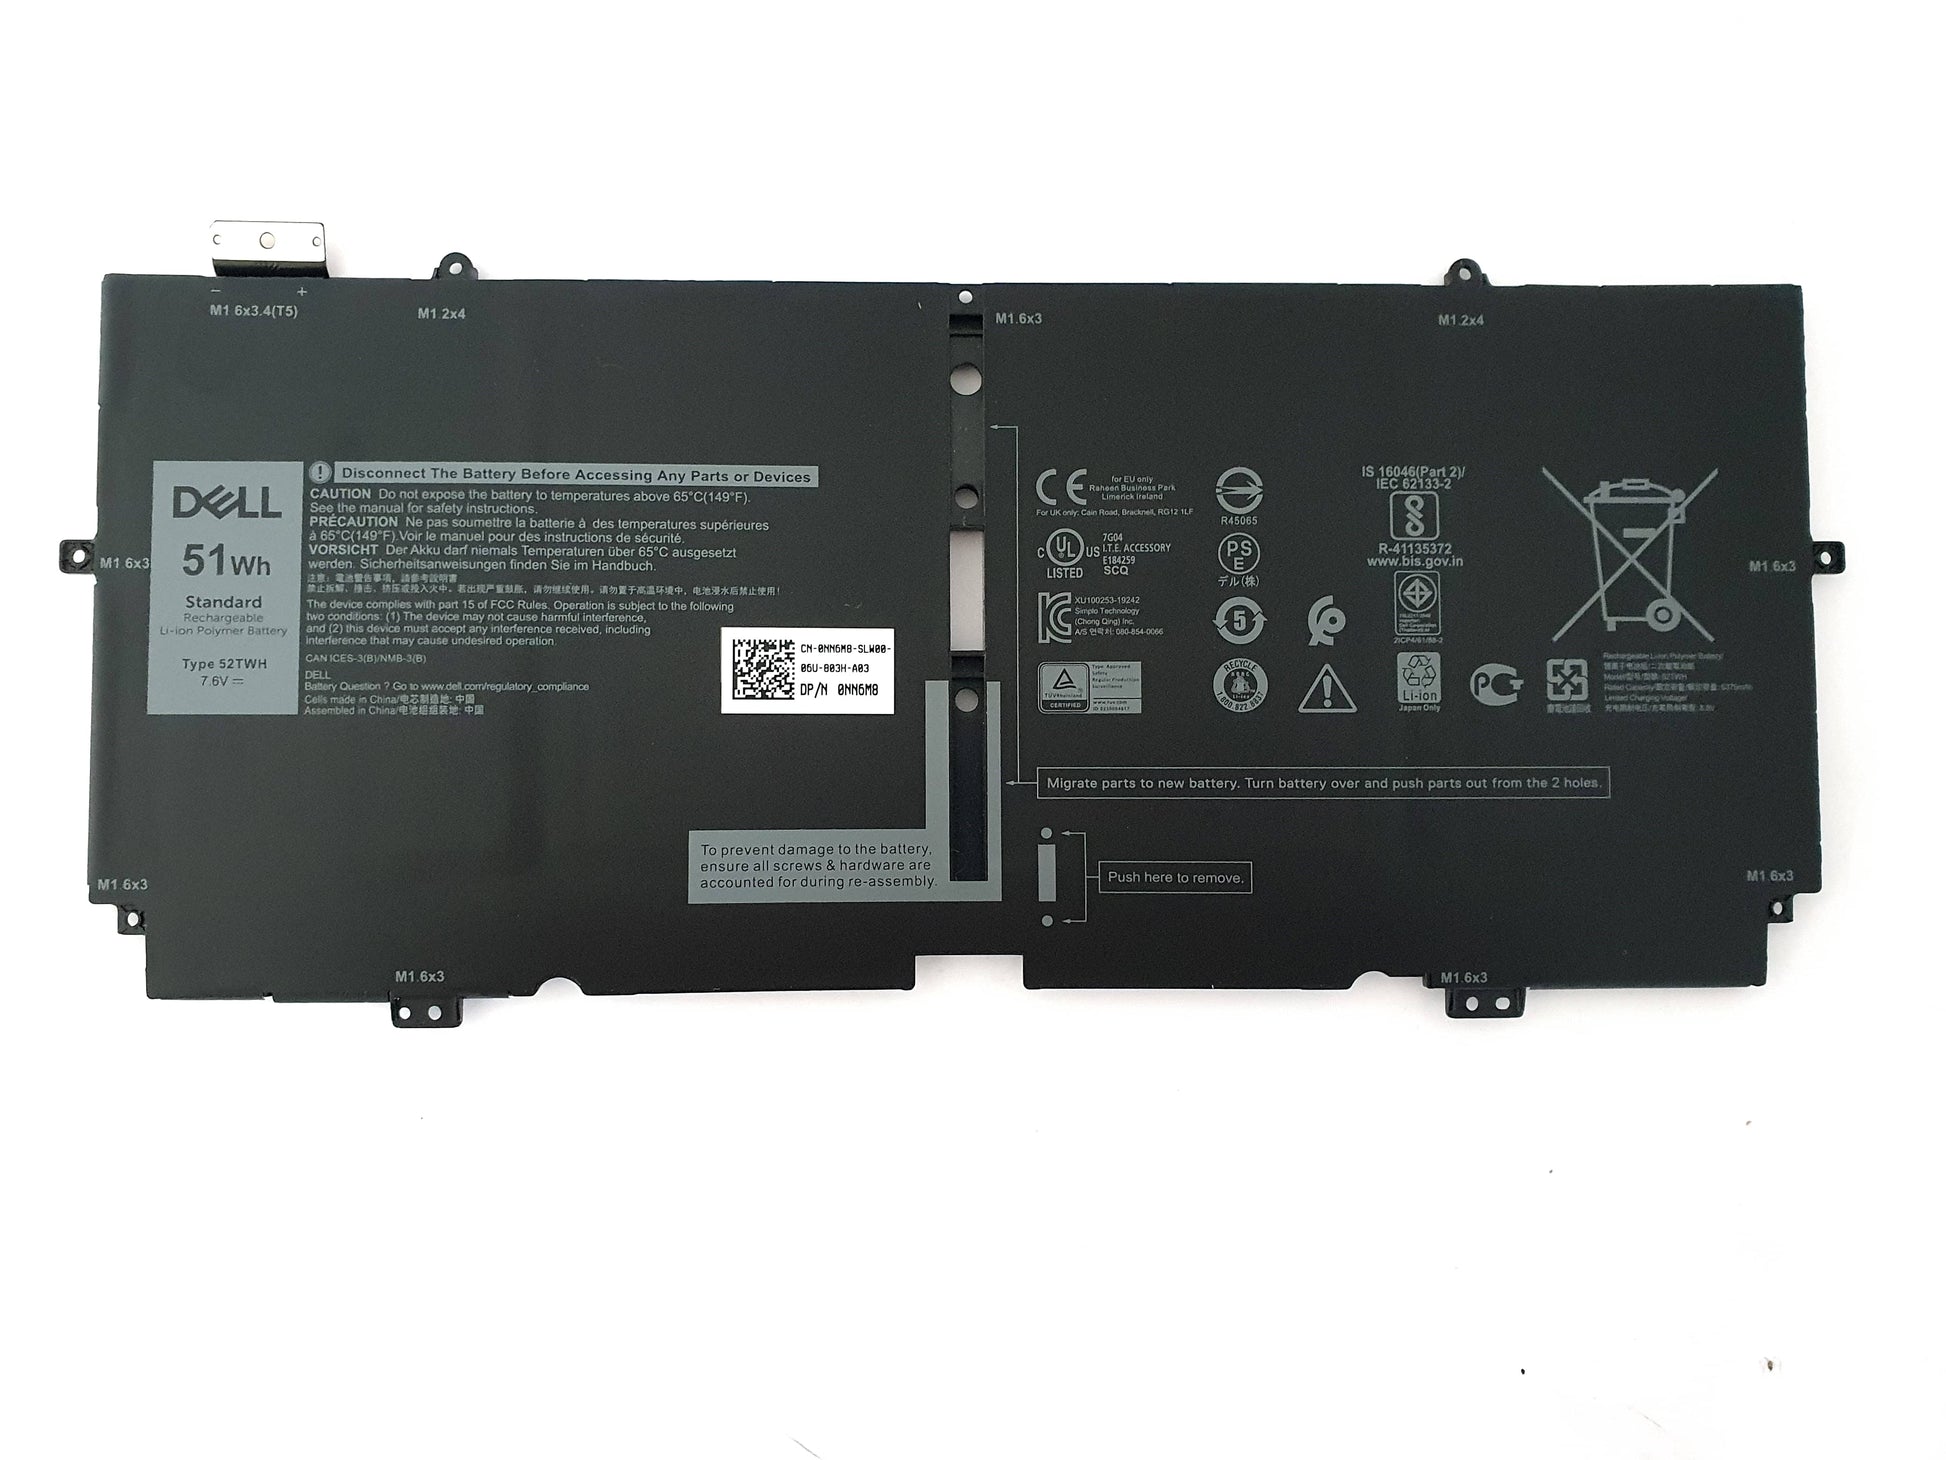
This genuine Dell replacement laptop battery is designed to power the Dell XPS 13 7390 4-Cell for reliable, long-lasting performance. With a capacity of 51Wh and 7.6V, it is the perfect replacement for your Dell device. Dell Part Number (DPN) XX3T7 / 0XX3T7 / NN6M8 / 0NN6M8, Dell Type Code 52TWH.
Condition: New
Dell Part Number / DPN: XX3T7 / 0XX3T7 / NN6M8 / 0NN6M8
Dell Type Code: 52TWH
Watt-Hours: 51Wh
Volts: 7.6V
Fits the following Dell Laptop:
Dell XPS 13 7390 2-in-1 only
Please note: Screws are not included. Please retain the original screws for the installation of this part.
UK Seller - Free UK Next-day Shipping - 12 Months Warranty
How to install the battery
PLEASE NOTE: We are not liable for any hardware damages or injury caused during the installation. We also recommend using anti-static equipment to prevent hardware damage.
Removing the old battery
1. Power off the laptop.
2. Turn over the laptop and unscrew the base plate cover.
3. Remove the base plate from the laptop (Use a prying tool to help unclip in necessary)
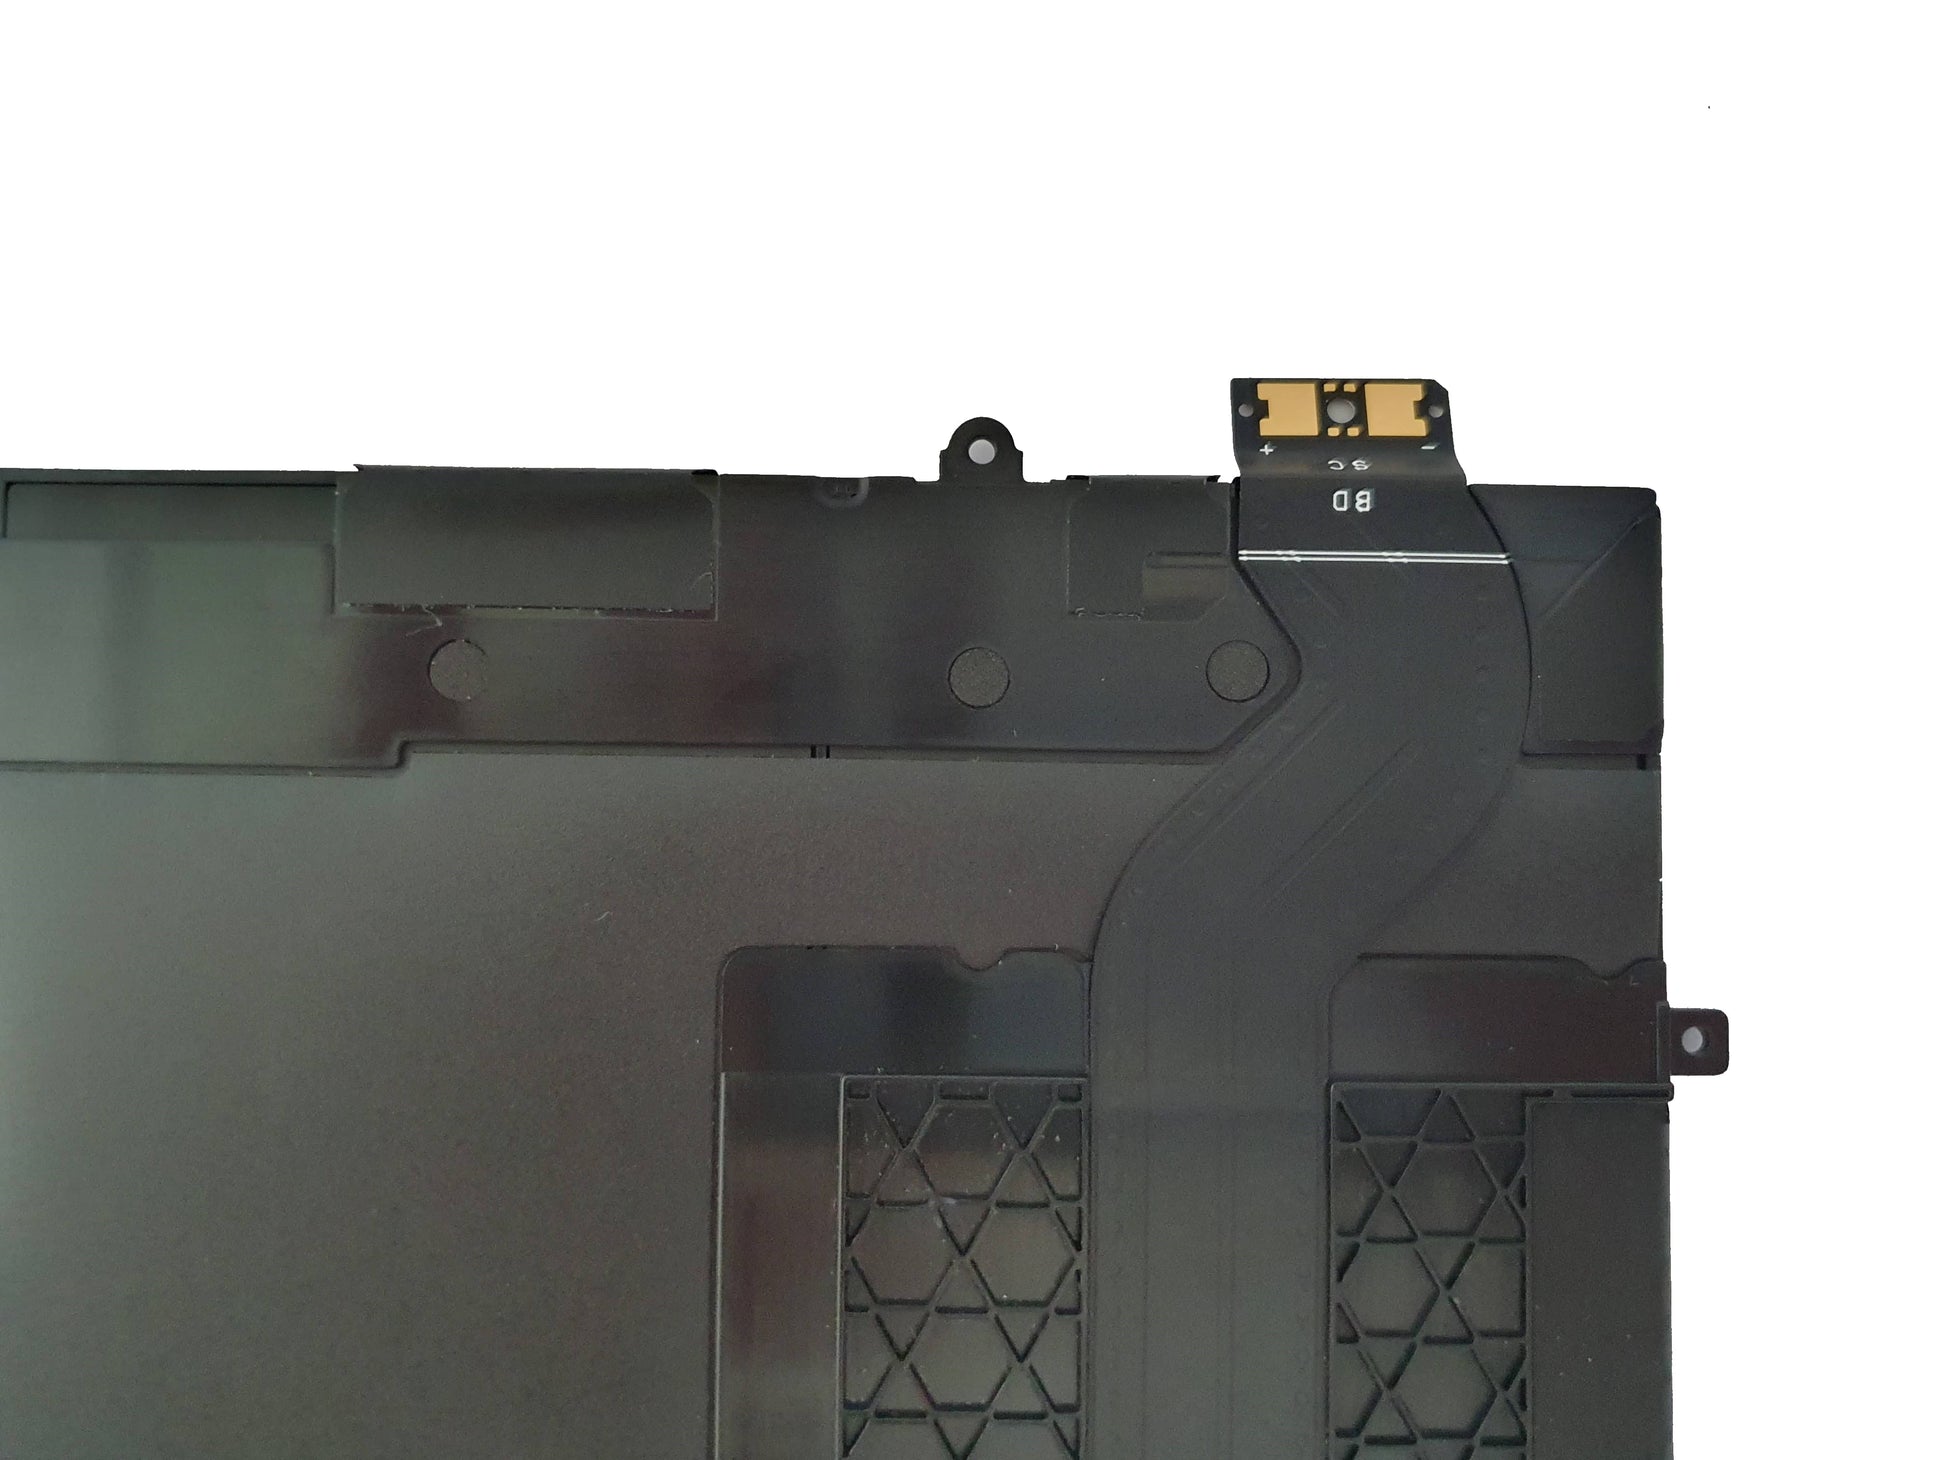
4. Identify the battery connector, unscrew it, and unplug the battery.
5. Unscrew the battery and remove the battery from the laptop.
Installing the New Battery
1. Align the new battery into position (Do not plug the battery in yet)
2. Install the battery screws
3. Plug the battery cable into the motherboard and use the screw to fix it into place,
4. Replace the base plate by applying light pressure to ensure it's seated correctly.
5. Install the base plate screws
6. Plug the power adapter into the laptop and switch on the laptop.